For Windows XP :
- Click Start.
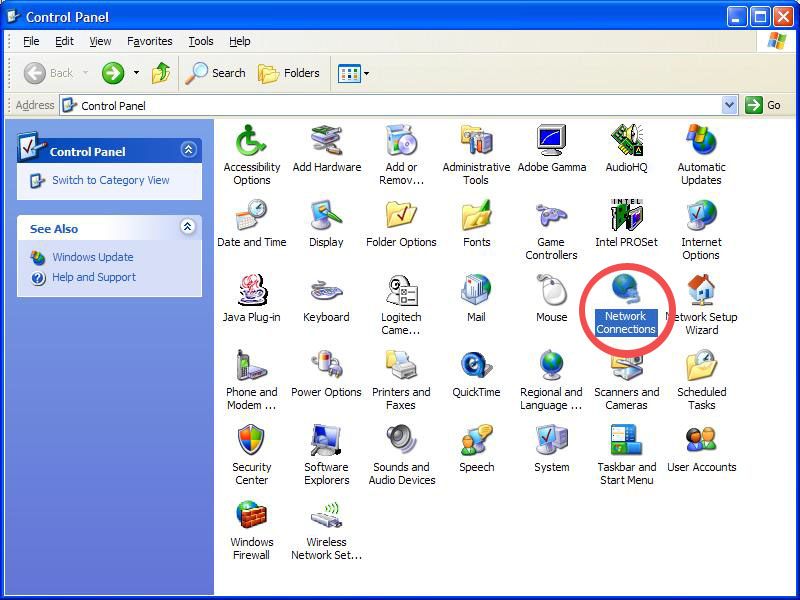
- Click Control Panel.
- Double-click Network Connections (the icon circled in red in the following graphic).If your Control Panel window does not look similar to the following graphic, in the left-hand column of the window, click Switch to Classic View.
- The following change only needs to be made if there is more than one network connection listed.

- For each network connection, right-click the connection and click Properties.
- Click the Advanced tab and verify that the checkbox in front of Allow other network users to connect through this computer's Internet connection is checked, as shown in the following graphic:

- Click OK to save the setting.

- You will see there is a hand supporting shared network connection,Close the Control Panel window.
LAN Adapter configuration:
When Internet Connection Sharing is enabled, your LAN adapter will be set to use IP
address 192.168.0.1 subnet mask of 255.255.255.0

Other Computers on the LAN side:
The connection to the Internet is shared to other computers on the local area network (LAN). The network adapter that is connected to the LAN is configured with a static IP address range of( 192.168.0.2 to 192.168.0.254)and a subnet mask of 255.255.255.0 Default Gateway is 1952.168.0.1 & DNS address will be ISP proprietary DNS
For Windows Vista :
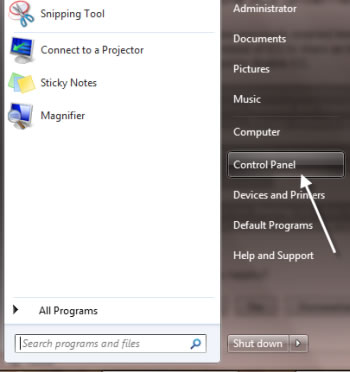
- Click Start.
- Click Control Panel. If your Control Panel window does not look similar to the following graphic, in the left-hand column of the window, click Classic View.
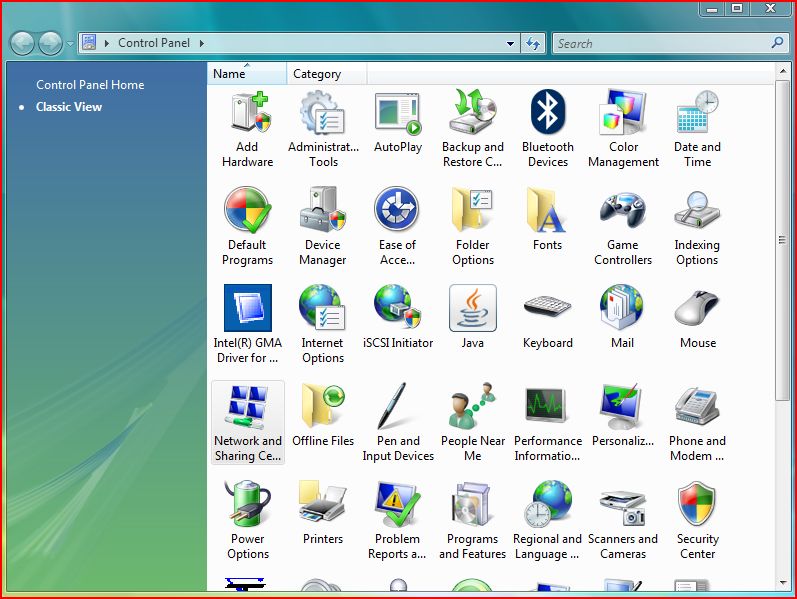
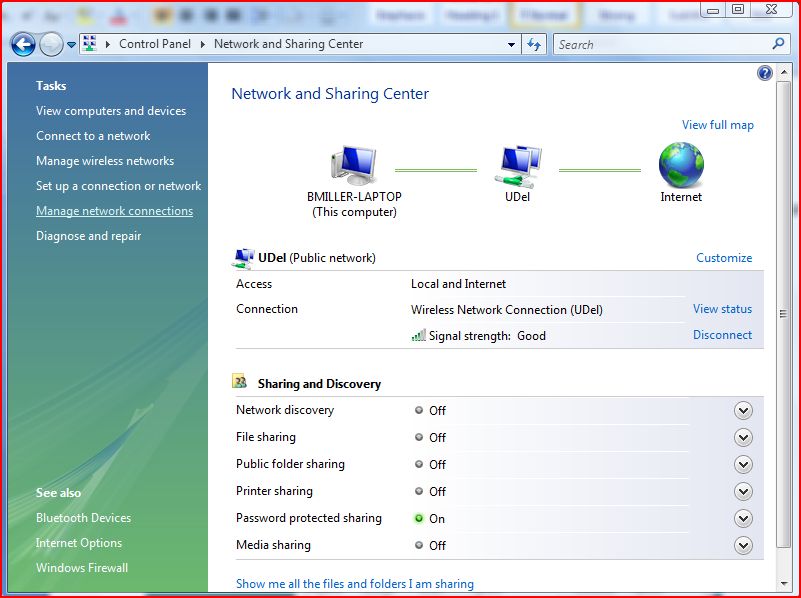
- Double-click Network and Sharing Center.
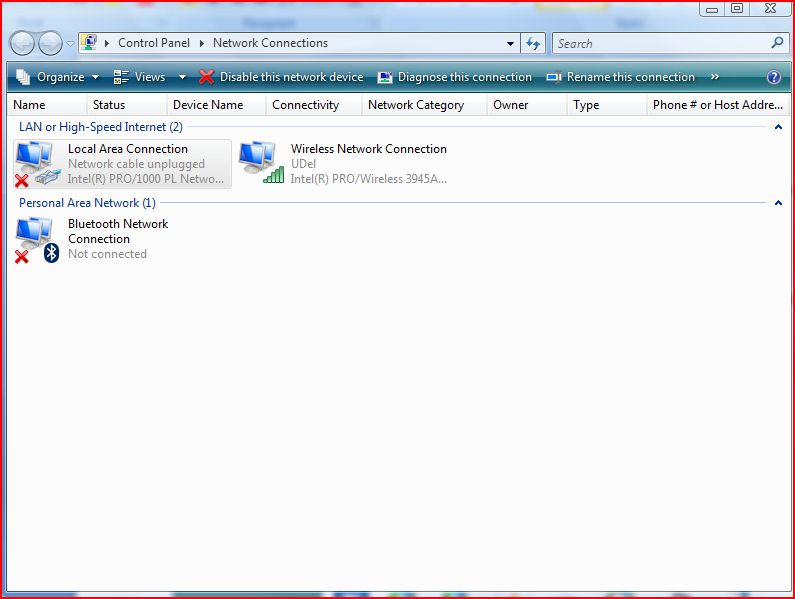
- In the left-hand column of the Network and Sharing Center window, select Manage network connections.
- The following change only needs to be made if there is more than one network connection listed. For each network connection listed, right-click the connection and click Properties.
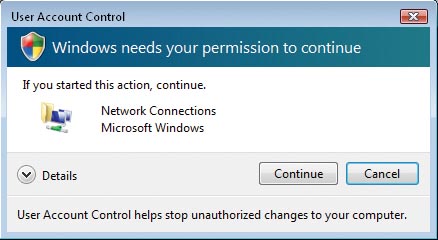
- If you see the User Account Control dialog box at any point during the configuration process, click Continue.
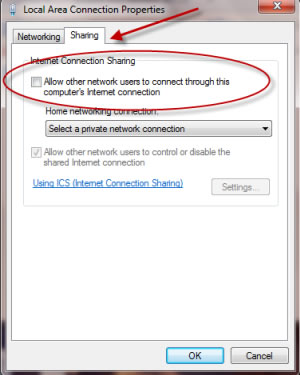
- Click the Sharing tab.
- Under the Internet Connection Sharing section, make sure that the checkbox in front of Allow other network users to connect through this computer's Internet connection is checked, as shown in the following graphic:
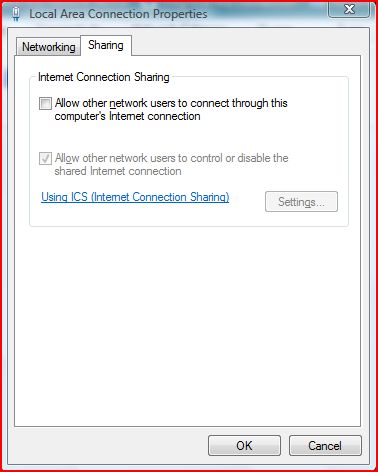
- Click OK to save the setting.
- Close the Control Panel window.
For Windows 7 :
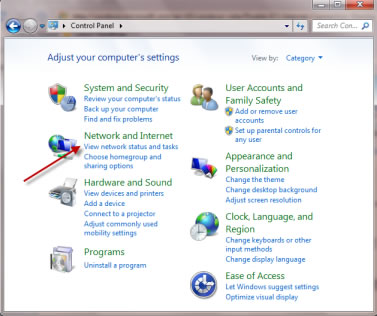
1. Click Start. > Click Control Panel.
2. Double-click Network and Internet
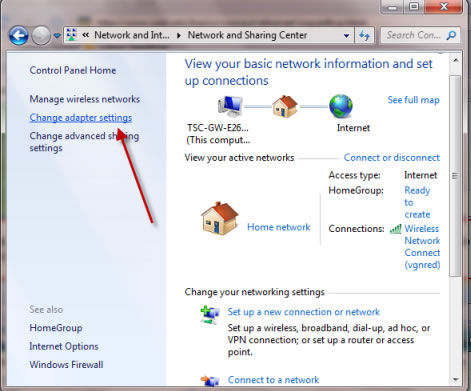
3. Click Network and Sharing Center
4. In the left-hand column of the Network and Sharing window, select Change adapter settings

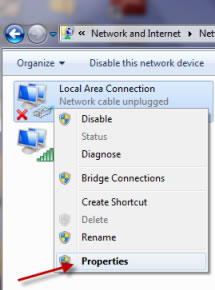
5. The following change only needs to be made if there is more than one network connection listed. For each network connection listed, right-click the connection and click Properties
6. If you see the User Account Control dialog box at any point during the configuration process, click Continue..
7. Click the Sharing tab. Under the Internet Connection Sharing, make sure that the checkbox in front of Allow other network users to connect through this computer's Internet connection is checked, as shown in the following graphic: